
Hot Water Tank Maintenance: A Practical Guide for Sherwood Park Homeowners
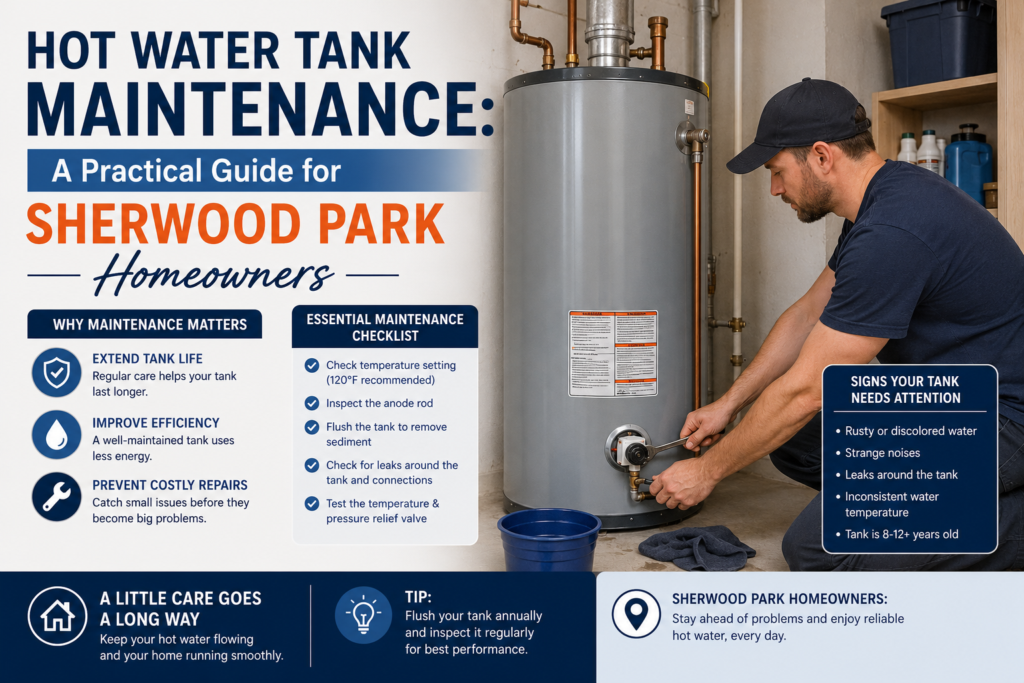
Hot Water Tank Maintenance: A Practical Guide for Sherwood Park Homeowners Most homeowners in Sherwood Park never think about their hot water tank until the morning they step into a cold shower. And by that point, the options are limited: emergency repair, emergency replacement, or an uncomfortable few days waiting for parts. The good news is that most hot water tank failures don’t happen without warning. They build up over months and years of mineral accumulation, anode rod depletion, and small issues that quietly progress until something gives way. A basic maintenance routine — combined with knowing what to watch for — extends your tank’s lifespan significantly and gives you time to plan replacement before it becomes an emergency. This guide covers what maintenance your hot water tank actually needs, how often, and what the signs of a system approaching failure look like. Understanding Your Hot Water Tank Before maintaining something, it helps to understand how it works. A conventional hot water tank stores a fixed volume of water — typically 40 to 60 gallons — and maintains it at a set temperature using either a gas burner (most common in Sherwood Park homes) or an electric heating element. When you draw hot water, cold water enters the tank at the bottom and is heated to replace it. Two components are critical to the tank’s longevity and deserve particular attention: The anode rod is a sacrificial metal rod — usually magnesium or aluminum — suspended inside the tank. Its entire purpose is to corrode. By attracting the corrosive elements in the water to itself, it protects the tank’s steel lining from rusting. When the anode rod is fully depleted, the tank itself becomes the corrosion target. Most hot water tank failures in Alberta trace back, one way or another, to a depleted anode rod that was never inspected or replaced. The pressure relief valve (TPR valve) is a safety device that releases pressure if the tank exceeds safe operating temperature or pressure limits. It is not a maintenance item in the traditional sense, but it should be tested annually to confirm it opens and closes freely — a stuck TPR valve is a safety hazard. The Annual Maintenance Checklist 1. Flush the tank (every 6–12 months) Sherwood Park’s hard water causes mineral sediment to accumulate at the bottom of the tank over time. This sediment insulates the bottom of the tank from the burner heat, forcing the burner to run longer and hotter to heat the water above. You will often hear a rumbling, popping, or kettling sound from a tank with significant sediment buildup — that sound is the heating element burning through the scale deposits. Flushing the tank removes the accumulated sediment. The process involves: Connecting a garden hose to the drain valve at the base of the tank Shutting off the cold water supply to the tank Opening the drain valve and allowing the tank to drain until the water runs clear Closing the drain valve, removing the hose, and restoring water supply On an older tank that has never been flushed, the drain valve itself may be stiff, clogged, or prone to leaking after being opened for the first time. If you have any doubt about your ability to close the valve properly after flushing, this is a job for a technician. 2. Inspect and replace the anode rod (every 3–5 years) The anode rod is accessed through the top of the tank — typically under or near the cold water inlet. Inspecting it involves removing it with a socket wrench and checking its condition: a rod that has been reduced to less than half its original thickness, or that is heavily coated in calcium deposits, should be replaced. In Sherwood Park’s hard water environment, anode rods tend to deplete faster than in softer water areas. Inspecting every three years — rather than the standard five — is a sensible approach for most homes here. This is not a difficult job for a mechanically inclined homeowner, but it does require shutting off the cold water supply and partially draining the tank. If you are not confident in the process, a licensed plumber or HVAC technician can inspect and replace the anode rod during a service call. 3. Test the pressure relief valve (annually) The TPR valve is typically located near the top of the tank with a small lever handle. Testing it involves lifting the lever briefly to allow a small amount of water to discharge through the relief tube, then releasing it. The valve should snap shut cleanly with no continued dripping. If the valve continues to drip after testing, leaks around the body, or does not open at all, it should be replaced. A faulty TPR valve is not something to defer — it is a primary safety device. 4. Check the temperature setting (annually) Your water heater’s thermostat should be set to approximately 49°C (120°F). This is the recommended setting that balances safety (avoiding scalding), energy efficiency, and legionella prevention in the tank. Higher settings waste energy by keeping water hotter than necessary. Lower settings create a risk of bacterial growth in the stored water. Check the setting annually and adjust if it has drifted. 5. Inspect all connections for leaks (annually) With the tank under pressure, inspect the cold water inlet, hot water outlet, TPR valve discharge pipe, and gas connections (for gas units) for any signs of moisture, corrosion, or mineral buildup. Small drips often go unnoticed for months before they become significant leaks. Warning Signs That Need Immediate Attention These are the symptoms that mean call a technician promptly — not something to monitor and hope resolves itself: Rust-coloured or discoloured water from hot taps. This is typically a sign that the anode rod is depleted and the tank lining has begun to corrode. Once the tank is corroding internally, the end of its useful life is close. If the discolouration appears in cold water as well, the issue